Pressed flowers are a simple way to preserve a moment in time. By pressing flowers, you can save a thoughtful bouquet from a loved one or commemorate flowers from a special event. Plus, it’s an easy way to keep the beauty of spring and summer blooms alive (almost) forever.
Unlike a bouquet of dried flowers, pressed flowers are great for framing and displaying as art, giving as a sentimental gift, or dressing up handwritten cards and letters. You don’t need any special tools to preserve them either. There are a few different methods for pressing flowers, but you can easily get the job done with just a few supplies from around your house.
How to Select Flowers for Pressing
If you’re pressing flowers from a bouquet, start as soon as possible. Don’t wait until the day before you’ll have to throw the arrangement out. Remove a few flowers from the bouquet while all the blooms are still fresh.
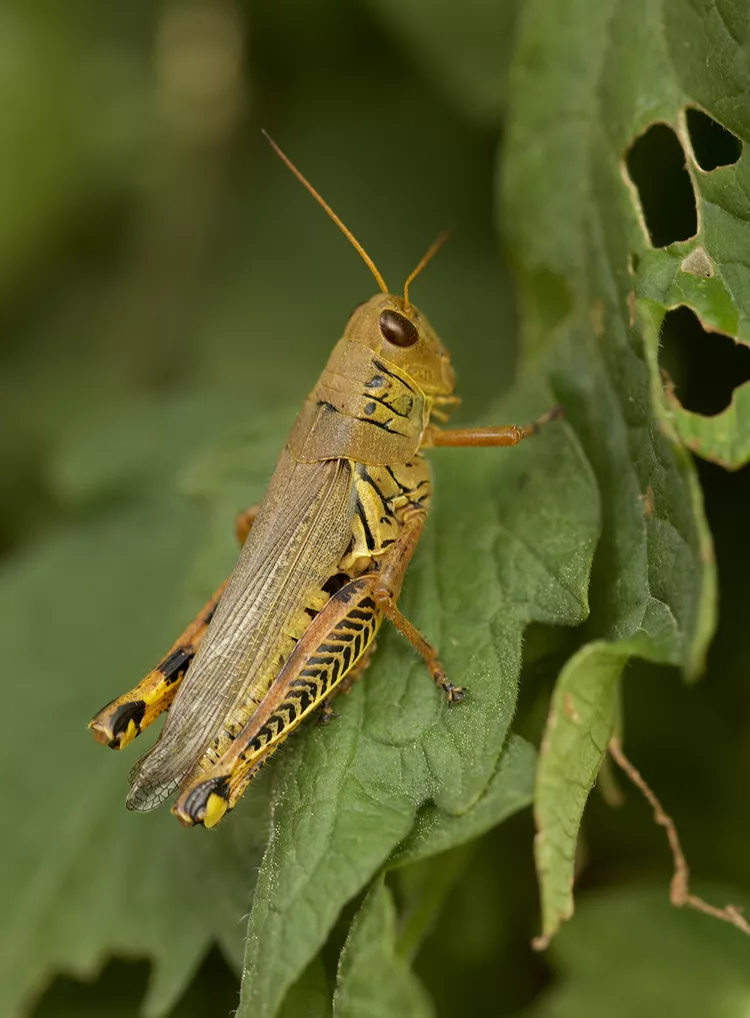
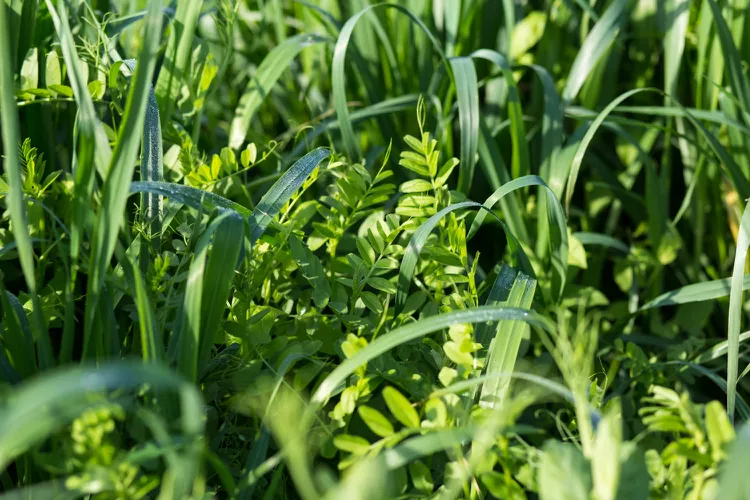
If you’re picking flowers from the garden, harvest them in the morning after the dew has evaporated when they’re ready to open their buds, or just before their peak. Collect blooms and foliage at different stages of development to give framed pressed-flower art a natural look. The better the quality of the blooms at picking time, the better they’ll look when dried and pressed.
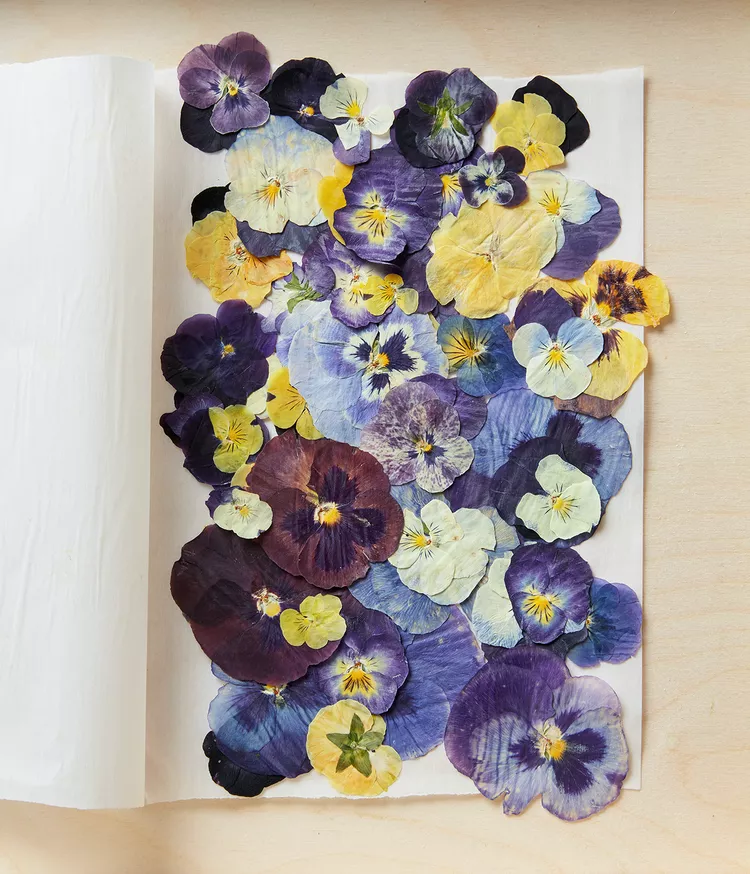
Flowers with naturally flat blooms are the easiest to press, such as violets, daisies, and single-petal roses (many types of shrub roses are good choices). Ferns and other types of leaves flatten nicely too. Bulky flowers can also be pressed but may look better if trimmed, separated into petals, or sliced in half lengthwise. Collect some stems, leaves, and tendrils to add interest and context to your pressing.
You can also dry chunky flowers such as multi-petal roses or carnations—or even fruits and vegetables—but they’ll take longer and need a bit more attention.
How to Prepare Flowers for Pressing
If you’re pressing flowers with obvious stamens (the part covered in yellow pollen), such as alstroemerias and lilies, remove the stamens so the pollen won’t stain. Trim the back of bulky flowers or cut them in half lengthwise to help them lie flat.
For best results and the most vibrant colors, condition your blooms first. Plunge the stems (not the blooms) into water immediately after cutting, then hold the stems underwater in a sink and recut at an angle to allow the greatest water absorption. Place them in a clean vase filled with water and floral food.
Supplies For Pressing Flowers
Before you get started, make sure you have the right supplies for the job! You’ll find most of these items around your house already:
- You need blotting paper, printer paper, parchment paper, flat coffee filters, flat cardboard, or plain, untreated facial tissues to absorb moisture and aid drying. The goal is to dry flowers as quickly as possible to prevent browning.
- Avoid paper towels because their textures can get imprinted on the petals. You should also avoid waxed paper because it retains moisture.
- Experiment with pressing techniques to discover which one works best for you and the flowers you choose. Trial and error will also show you how to place the blooms on the paper so they look their best when pressed.
- You can buy or make a wooden flower press, but the following three techniques work the same way (and they’re free!).
:strip_icc():focal(939x779:941x781):format(webp)/paper-sheets-used-for-pressing-flowers-815947f6-edccb8d1ef7647cfae61783eb343bb61.jpg)
:strip_icc():focal(901x805:903x807):format(webp)/pressing-flowers-with-blue-book-6dd42e63-7a0690a72f904694b456fd01fd0b7866.jpg)
:strip_icc():focal(959x690:961x692):format(webp)/bricks-and-book-pressing-flowers-a4b52b28-661694a5923a456cb600d9600f6a029b.jpg)
How to Press Flowers in a Book
The easiest way to press flowers doesn’t involve any special equipment other than absorbent paper and a heavy book or phone book. Pigments in the petals, stems, and leaves may stain the paper, so if the book is valuable, protect the pages with an extra layer of paper on each side of the plants being pressed.
There are two ways to press using this technique: Start by placing the flowers between two layers of plain, absorbent printer paper, then place heavy books on top. Or place the flowers between the pages of the book itself, leaving at least 1/8 inch between multiple pressings. Weigh down the top of the book with a brick or other heavy item.
Let the flowers dry for a week before checking on them. At that point, you may want to replace the absorbent material. Allow two to three weeks for complete drying.
:strip_icc():focal(939x869:941x871):format(webp)/ironing-pressed-flowers-b17e10cb-5f678b0c624a4314bc2fb87a8125a9b4.jpg)
:strip_icc():focal(959x690:961x692):format(webp)/pressed-flowers-book-ironing-board-bb48ca96-00dfebfd26a14f7fa7ee52403267aedd.jpg)
How to Press Flowers With an Iron
As with the book method, start by pressing the flowers between two pieces of absorbent paper.
Heat a hot, clean iron to a low setting. Empty any water from the iron and don’t add water (you don’t want to add more moisture with the steam).
Prepare the flower for pressing by placing it between two sheets of absorbent paper. Then, flatten the flower for a few seconds with a heavy book or heavy-bottomed pan. Place the paper and flowers on an ironing board and press the warm iron on top of the upper sheet of paper for 10 to 15 seconds. You don’t need to make a gliding motion like you do when you’re ironing clothes. Wait for the paper to cool for another 10 to 15 seconds, then repeat. Check occasionally by very carefully lifting the paper to see if the flower is stiff and dry.
:strip_icc():focal(1170x792:1172x794):format(webp)/pressing-flowers-with-tiles-8f2ef3c6-87e2a42fa84d4994a345bffe0db7af53.jpg)
:strip_icc():focal(1227x767:1229x769):format(webp)/rubber-bands-tiles-pressed-flowers-d773a440-aff9684317bf464e8239c82fd3c164e7.jpg)
How to Press Flowers Using the Microwave
Using high heat on flowers might cause them to turn brown, but if you’re in a hurry, you can use a microwave to speed up the drying process.
For better luck with pressing flowers in a microwave, use a professional microwave flower press (Microfleur). Follow the directions on the flower press, placing the flower between two pieces of absorbent paper and using 30- to 60-second zaps. Allow the plant material to cool between microwave sessions. If you are drying more than one set of blooms, alternate cooling, and heating with two microwave presses.
In a pinch, you can create your own microwave flower press using two ceramic tiles and rubber bands to hold the tiles tightly together. Place the flowers between two sheets of absorbent paper, then press between the tiles. Heat for 30 to 60 seconds at a time, allowing the materials to cool before repeating.
Or, place the flowers inside a book (as long as there’s no metal in the binding!). Heat the book for 30 to 60 seconds at a time, checking to see when the flowers are dry. Allow the book to cool for a minute or two between zaps. Don’t microwave the book for longer than a minute at a time.
When the flowers are dry, finish the process with the traditional air-drying press with a book or heavy object. The flowers should be finished drying in a day or two.